

Step-by-Step Guide to Creating a Docker Image of your Application and Uploading it to Docker Hub


Prerequisites
Docker Hub account
Docker installed on your local machine
Introduction
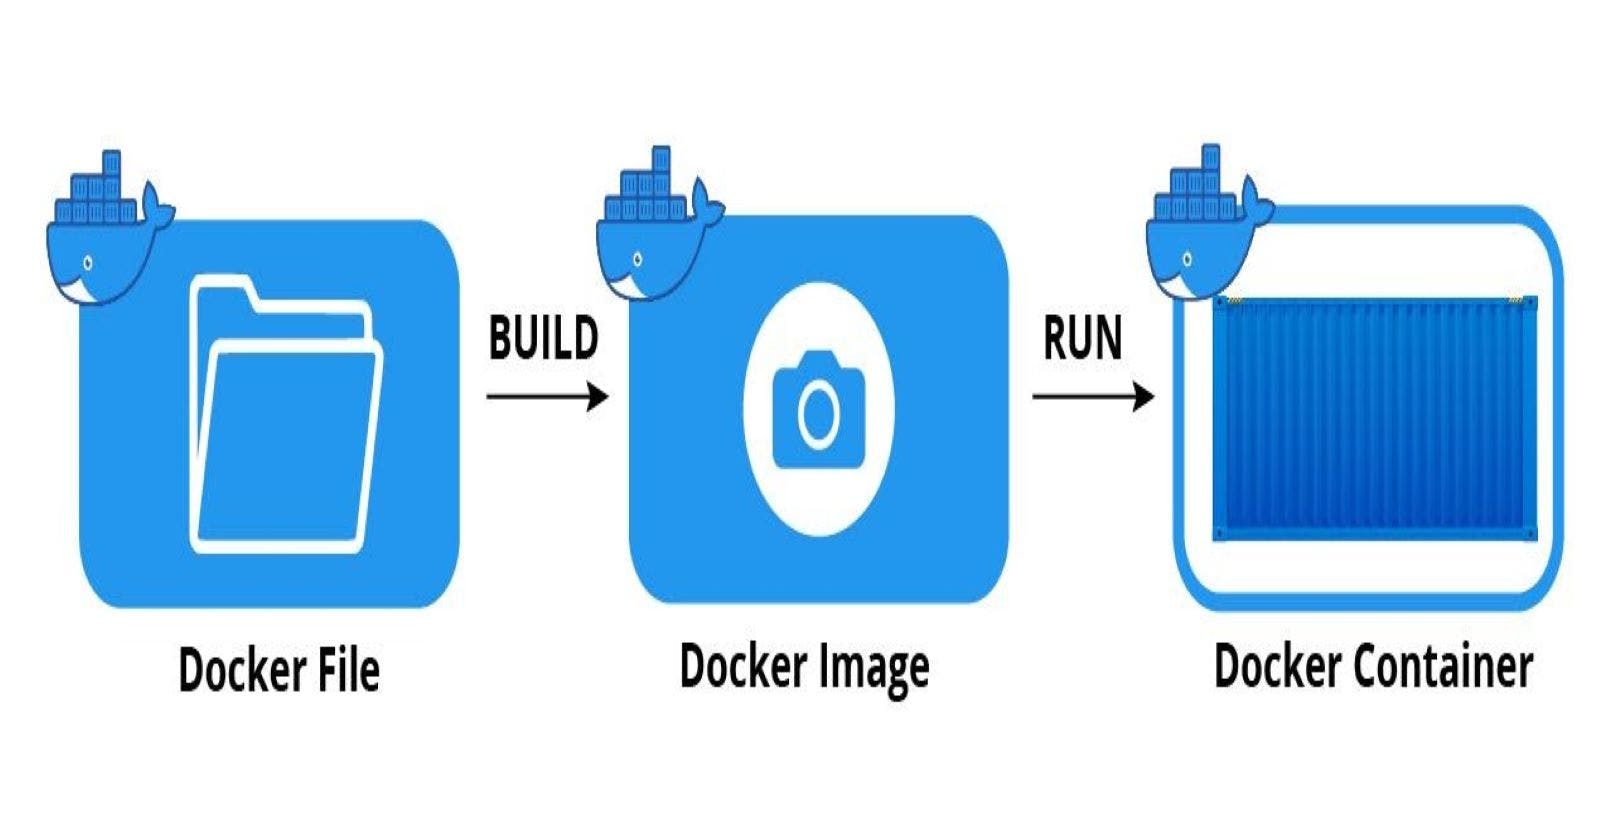
A Docker image is a template that contains a set of instructions for creating a container that would be able to run on the Docker platform. It gives you a way to package your applications which you share publicly with other Docker users via Docker Hub or use privately on your local machine.
Docker Hub is Docker's official cloud-based registry used to host and distribute Docker images. Also, you can use this service to find and share container images with your team if you are not working alone.
If you are new to Docker, creating a Docker image and uploading it to Docker Hub is the starting point for you. In this article, I will be highlighting the steps to creating a Docker image of a simple html/css application and uploading the image to Docker Hub.
Here are the steps;
Open a terminal window and navigate to the root directory of your application.
Create a Dockerfile in the root directory. This file will contain instructions for Docker to build your application image. Here's an example of a Dockerfile you can use for your application image;
 # nginx state for serving content
 FROM nginx:alpine
 # Set working directory to nginx asset directory
 WORKDIR /usr/share/nginx/html
 # Remove default nginx static assets
 RUN rm -rf ./*
 # Copy static assets over
 COPY ./* ./
 # Containers run nginx with global directives and daemon off
 ENTRYPOINT ["nginx", "-g", "daemon off;"]
Build the Docker image with the following command in the terminal window:
docker build -t yourusername/yourappname:yourtag .Replace "yourusername", "yourappname" and "yourtag" with your Docker Hub username, the name of your application and the name of your tag respectively. The tag for your application is what uniquely identifies your application.
Once the image has been built successfully, run it locally by running the following command:
docker run -d -p 3000:3000 yourusername/yourappname:yourtagThis will start your application inside a Docker container, which can be accessed at localhost:3000. The '-d' indicates that the application should run in the background and '-p 3000:3000' indicate the port you want to access your application. You can use any port number of your choice. Alternatively, you can access your application when you run this command:
curl http://localhost:3000Once you're satisfied that the application is working correctly, log in to Docker Hub by running the following command in the terminal window:
docker loginEnter your Docker Hub credentials when prompted.
Push the Docker image to Docker Hub by running the following command:
docker push yourusername/yourappname:yourtagThis will upload the image to Docker Hub, where it can be accessed by anyone with the appropriate permissions.
Also, you can create a .dockerignore file in the application root directory to list any files you would like to exclude from the Docker image build process. These files are usually sensitive or unnecessary files you want to prevent from being part of your image build.
And that's it! You have created a Docker image for your application and your application is now available as a Docker image on Docker Hub.